

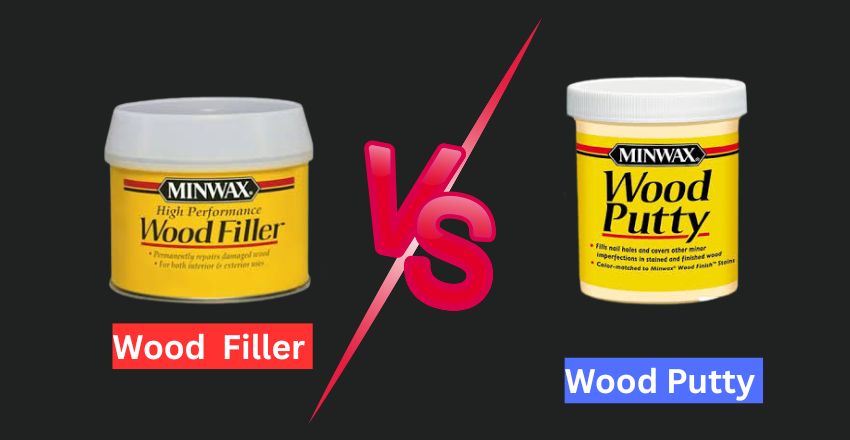
Choosing between wood putty vs wood filler comes down to the wood’s condition and the finish you want. Use filler on unfinished wood when the repair must harden, accept sanding, or be painted. Choose putty for small cosmetic flaws on wood that has already been stained, sealed, or painted.
Both products can hide nail holes, scratches, and small gaps. They aren’t interchangeable, though. Using the wrong material can leave a visible patch, prevent stain absorption, or cause the repair to crack.
| Quick comparison | Wood putty | Wood filler |
| Best surface | Finished wood | Unfinished wood |
| Typical repair | Small holes and scratches | Holes, cracks, dents, and damaged edges |
| Hardens fully | Usually no | Yes |
| Sandable | Usually no | Yes |
| Stainable | Usually no | Some formulas are |
| Outdoor use | Often suitable for small repairs | Only when labeled for exterior use |
| Application stage | After finishing | Before painting, staining, or sealing |
The Short Verdict
Choose wood filler when the repair needs shaping, sanding, painting, or staining. Choose putty when you need to conceal a small flaw in finished wood without refinishing the whole surface. For outdoor work, check the label rather than relying only on the product name.
Wood Putty vs Wood Filler: What Is the Difference?
The biggest difference in wood putty vs wood filler is how each product behaves after application. A typical wood filler dries into a firm patch that you can shape with sandpaper, while wood putty usually stays slightly flexible and is designed to blend into an existing finish.
The terms aren’t regulated consistently across every manufacturer. One brand may use “plastic wood,” “wood patch,” or “repair compound” for a product that behaves like filler. Always read the package instructions for sanding, staining, moisture resistance, and recommended surfaces.
The most reliable choice depends on seven factors:
- Whether the wood is finished
- The size of the damaged area
- Whether the patch needs sanding
- Whether you plan to stain or paint
- Whether the item stays indoors
- How much movement the wood experiences
- The manufacturer’s stated use
What Is Wood Putty?
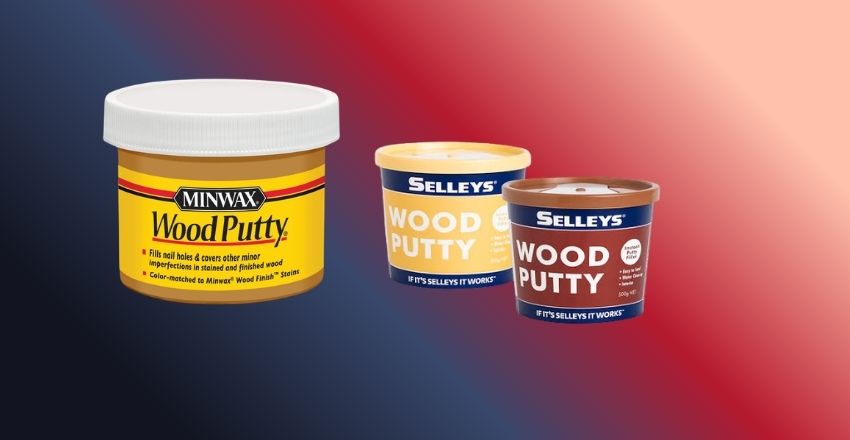
Wood putty is a soft repair compound commonly used on stained, painted, or sealed surfaces. It works well for hiding finish nail holes, shallow scratches, tiny gaps, and other cosmetic defects.
Many versions contain oils, binders, colorants, or synthetic ingredients. They often remain slightly pliable instead of curing into a rigid block. That flexibility can help the patch tolerate minor expansion and contraction.
Putty is sold in small tubs, tubes, pencils, and wax-like sticks. Premixed colors let you match common finishes without applying stain over the repair.
Pros
- Easy to press into small holes
- Available in several wood-tone colors
- Useful after staining or sealing
- Little surface preparation required
- Flexible enough for minor movement
Cons
- Usually cannot be sanded
- Often cannot absorb stain
- Poor choice for rebuilding corners
- Not intended for major damage
- A poor color match can remain visible
The product works best when the surrounding finish is staying in place. If you plan to strip or refinish the item, a hardening repair compound is usually more practical.
What Is Wood Filler?
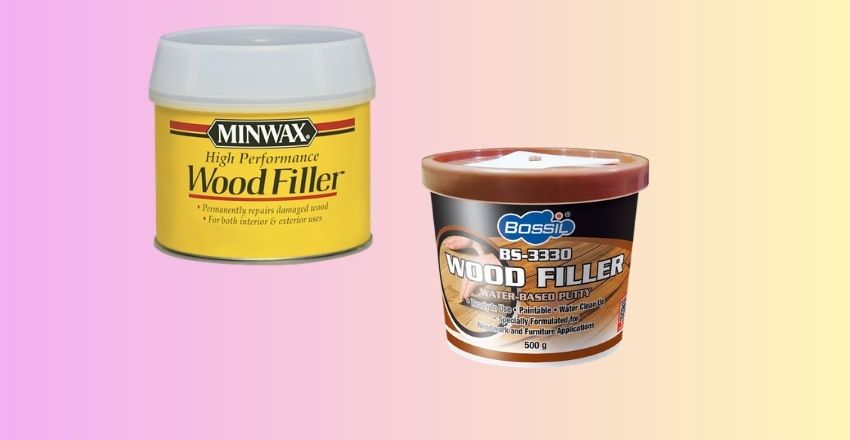
Wood filler is a paste or compound designed to cure into a hard repair. Depending on the formula, it may contain wood fibers, cellulose, mineral ingredients, resin, latex, or solvents.
It is commonly applied to bare timber before the final finish. Once cured, the patch can usually be sanded flush. Many products can also be painted, while selected formulas are marketed as stainable.
This makes filler useful for nail holes in unfinished trim, dents in furniture, cracks in boards, damaged edges, and gaps that need reshaping. The Spruce also notes that standard products work best on unfinished surfaces, while specialized two-part versions may handle tougher repairs.
Pros
- Cures into a firm patch
- Can usually be sanded smooth
- Suitable for deeper surface defects
- Often accepts paint
- Some products can accept stain
Cons
- May shrink as moisture evaporates
- Can crack if used in a moving joint
- Stain may look different over the patch
- Standard indoor formulas may fail outdoors
- Deep repairs may need more than one layer
Filler isn’t a substitute for a sound joint. A loose chair rail, a split structural part, or a separated glue joint needs proper repair. Gladnota’s guide to choosing the best wood glue for different projects explains why adhesives and gap-filling compounds serve different purposes.
Which Product Should You Use?
Use Putty for Finished Furniture
When deciding wood putty vs wood filler, choose wood putty when the piece is already stained, sealed, lacquered, or painted. It is well suited to filling a visible nail hole in finished trim or a shallow scratch in a cabinet door. Match the color under the room’s normal lighting, since a repair that looks correct under a bright work lamp may appear darker in daylight.
Use Filler Before Painting
Choose a hardening compound for nail holes, seams, dents, and shallow cracks in unfinished trim. Apply it before primer and paint so the patched area can be sanded flat.
Sanding works best with a firm block on flat surfaces. Gladnota’s hand planer guide also covers surface preparation and grain direction when a board needs more correction than sandpaper can provide.
Use a Stainable Formula Before Staining
A label that says “stainable” doesn’t guarantee an invisible repair. The patch may absorb color differently from the surrounding grain.
Test the complete process on scrap wood. Apply the filler, let it cure, sand it, and use the same stain and finish planned for the project.
For an existing mark rather than missing material, first identify the stain type. Gladnota’s guide to safely removing stains from wood can help you avoid covering up a problem that should be cleaned instead.
Check the Label for Outdoor Repairs
Putty is often recommended for small outdoor cosmetic repairs because it can remain flexible. Standard water-based fillers may shrink or crack when exposed to moisture and temperature changes.
That rule has exceptions. Epoxy-based and two-part repair systems may be designed for exterior use. Check whether the package lists outdoor exposure, water resistance, painting requirements, and maximum repair depth.
Don’t Use Either Product for a Moving Joint
A gap in a joint often signals loose fasteners, failed glue, decay, or movement. Packing the opening with repair paste may hide the symptom without fixing the cause.
Repair or reinforce the joint first. Use a cosmetic compound only after the underlying parts are secure.
A Simple Selection Framework
Ask these questions in order:
- Is the wood already finished?
For a minor blemish, use a matching putty. - Will you sand the patch?
Select a hard-curing filler. - Will you stain the surface?
Use a stainable product and test it on scrap. - Is the repair outdoors?
Choose only a formula labeled for exterior conditions. - Is the area structural or moving?
Repair any damage to the joint or material before filling it.
This framework is more dependable than choosing by product name alone.
How to Apply Each Product?
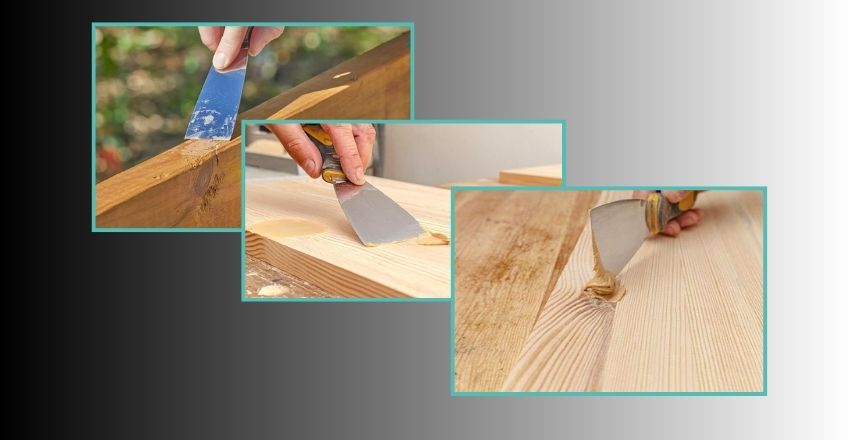
Applying Putty
- Clean dirt, wax, and loose material from the flaw.
- Select a color that matches the finished surface.
- Press a small amount into the hole or scratch.
- Remove excess with a plastic scraper or soft cloth.
- Follow the label’s curing and cleanup instructions.
Avoid spreading the material across a large area. It may leave an oily or cloudy mark on the surrounding finish.
Applying Filler
- Remove dust, splinters, finish, and weak material.
- Stir or mix the product as directed.
- Press it firmly into the damaged area.
- Leave a slight mound if the formula shrinks.
- Let it cure for the stated time.
- Sand the patch flush with the grain.
- Remove dust before painting, staining, or sealing.
Drying times vary widely by depth, temperature, humidity, and formula. Trust the package instructions rather than a universal waiting period.
Common Mistakes to Avoid
Using putty before staining: Most colored putties won’t absorb stain as readily as bare timber.
Expecting filler to match grain: A solid patch lacks the surrounding wood’s natural grain pattern.
Filling over rot: Soft or decayed material must be removed or stabilized first.
Ignoring repair depth: Thick applications may dry unevenly, shrink, or need several layers.
Sanding too early: A soft center can tear away, creating a larger hollow.
Using an indoor product outside: Rain and seasonal movement can cause failure.
Skipping a test patch: A small trial reveals compatibility of color, adhesion, and finish before the visible repair begins.
Final Verdict
For most unfinished indoor repairs, wood filler is the better choice because it cures hard and can be sanded. Use it before applying paint, stain, or a clear finish.
For small flaws in finished furniture, cabinets, trim, or flooring, putty is usually easier to use. It avoids sanding and comes in colors intended to blend with existing finishes.
The answer to wood putty vs wood filler is therefore based on timing: filler usually comes before the finish, while putty usually comes after it. Check the product label when moisture, exterior exposure, deep damage, or structural movement is involved.
Before starting, inspect the surface and test your chosen product on scrap or a hidden area. A five-minute test can prevent a patch that remains more noticeable than the original defect.
FAQs
Most colored putties are intended for surfaces that already have a finish. On bare timber, they may leave an oily mark or resist later staining. Check the manufacturer’s directions before use.
Some products can bond to painted or sealed surfaces, but many work better on bare material. Removing the finish around the damaged spot may improve adhesion. Follow the package requirements.
Use filler for nail holes in unfinished trim that will be painted or stained. Use color-matched putty for small holes in trim that has already been finished.
Most hardening fillers can be painted after curing and sanding. Some putties accept paint, while others remain too soft or oily. Confirm paint compatibility on the label.
A standard one-part filler may handle moderate surface damage, but large or deep voids often need an epoxy repair system, a fitted wood patch, or replacement material.
You can stain over products specifically labeled stainable. Even then, the patched spot may absorb color differently. Testing the exact stain and topcoat is the safest approach.
There is no universal winner. Flexible putties suit some small exterior flaws, while exterior-rated epoxy systems handle larger damage. Product formulation and correct preparation matter more than the name.
Think about the finishing stage. Use filler before finishing when sanding or reshaping is required. Use putty after finishing when you only need to hide a small cosmetic flaw.