

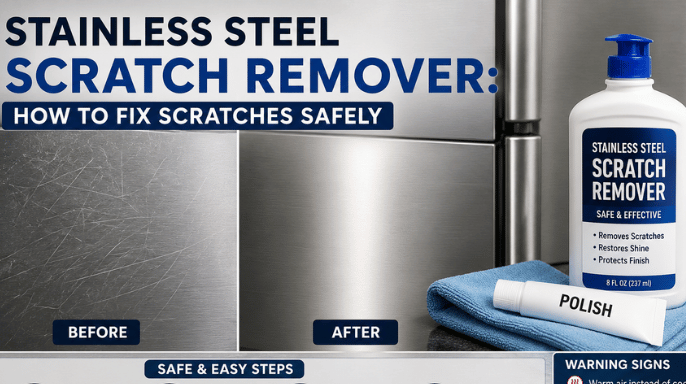
A stainless steel scratch remover can reduce light marks and blend deeper scratches, but the right method depends on the surface. Before polishing, check whether the metal is bare, brushed, mirrored, coated, or fingerprint-resistant.
Minor marks often respond to gentle polishing. More serious damage may need a repair kit with graded abrasive pads. Always test the method in a hidden area and work with the grain.
| Scratch or surface type | Recommended approach | Avoid |
| Fine surface mark | Mild polish and microfiber cloth | Hard scrubbing |
| Light scratch on brushed metal | Non-abrasive compound, rubbed with the grain | Circular rubbing |
| Deeper scratch on bare metal | Purpose-made repair kit | Starting with coarse sandpaper |
| Mirrored finish | Professional assessment | Abrasive pads |
| Coated or black finish | Manufacturer-approved care only | Sanding or polishing compounds |
| Fingerprint-resistant appliance | Check the appliance manual | Assuming it is bare metal |
Direct answer: Clean and dry the surface, identify the grain, and test a mild polishing compound in a hidden spot. Rub gently with the grain using a soft cloth. For deeper marks on uncoated metal, use a repair kit with progressively finer abrasives. Stop if the color, sheen, or texture begins to change.
Key Takeaways
- Check the finish before using any abrasive product.
- Clean the area first so dirt does not create new marks.
- Follow the visible grain on brushed surfaces.
- Start with the least aggressive method.
- Avoid sanding coated, black, or fingerprint-resistant finishes.
- A deep groove may be reduced but not fully erased.
- Stop immediately if the treated area becomes brighter or duller than the surrounding metal.
What a Scratch-Removal Product Can and Cannot Do
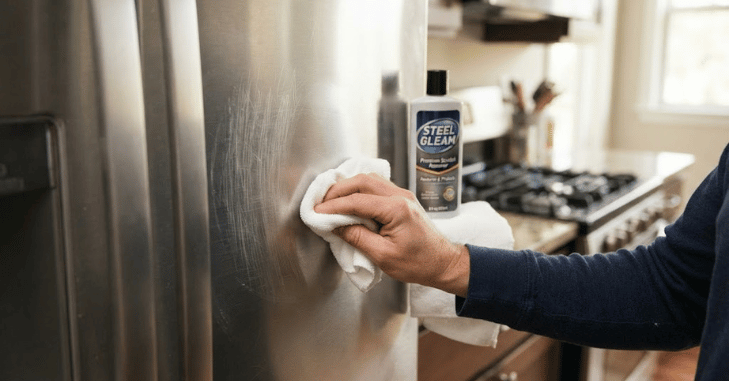
Scratch-removal products do not fill a groove like paint or putty. They remove or blend a tiny amount of the surrounding surface so the damaged line becomes less visible.
That distinction matters. A shallow mark may disappear after gentle polishing. A deep groove often remains visible from certain angles because removing enough surrounding metal would alter the finish.
Commercial kits commonly include abrasive pads, a lubricant, and polishing compound. Some are marketed for refrigerators, stoves, dishwashers, grills, and sinks. Product instructions still take priority because appliance finishes vary.
Before Using a Stainless Steel Scratch Remover
Complete three checks before touching the damaged area.
1. Confirm That the Surface Is Uncoated
Do not assume every silver appliance has exposed metal. Many modern refrigerators and dishwashers have fingerprint-resistant films, tinted coatings, or decorative finishes. Look in the appliance manual or on the manufacturer’s support page.
Terms such as “smudge-proof,” “fingerprint-resistant,” “black stainless,” or “protective coating” signal that abrasive repair may cause permanent discoloration. When you cannot identify the finish, contact the manufacturer before proceeding.
2. Find the Direction of the Grain

Brushed metal has fine lines running in one direction. View the surface under angled light to see them. Any polishing motion should follow those lines. Rubbing across the grain can leave a patch that reflects light differently from the rest of the appliance.
Guidance for brushed sinks and appliances consistently recommends working along the existing grain. A mirror finish has no visible grain. Abrasive hand repair is riskier because even fine pads can create a cloudy area.
3. Judge the Depth of the Damage
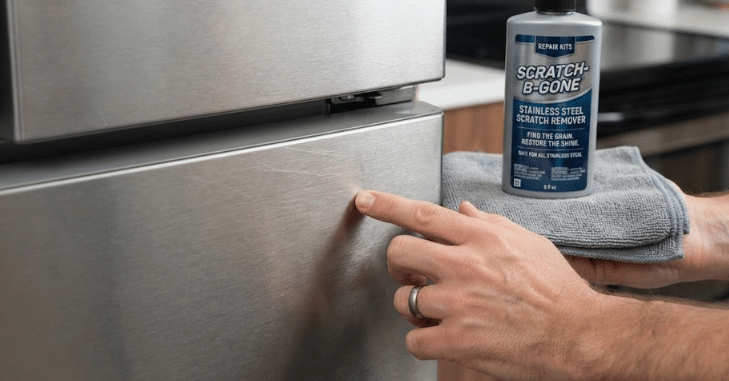
Run a clean fingernail gently across the mark. If your nail does not catch, the damage is likely superficial. If it catches slightly, careful blending may improve it. A groove that catches firmly may need professional refinishing or replacement of the affected panel.
What You Will Need
Gather these items before starting:
- Mild dish soap
- Warm water
- Two clean microfiber cloths
- Manufacturer-approved polish or repair compound
- Painter’s tape
- A bright portable light
- A purpose-made repair kit for deeper marks
- Protective gloves if the product label recommends them
Avoid steel wool, harsh scouring pads, bleach, and ammonia-based cleaners. Abrasive sponge fibers can scratch appliance finishes and damage nearby labels or control markings.
How to Remove Light Scratches Step by Step
1. Clean the Entire Area
Mix a small amount of dish soap with warm water. Wipe away oil, dust, and food residue using a soft cloth.
Rinse the cloth and wipe again to remove soap. Dry the surface fully before inspecting the mark.
2. Protect Nearby Edges
Use painter’s tape around plastic trim, logos, painted sections, and control panels. Polishing compound can discolor these parts or remove printed lettering. Leave enough space around the scratch to blend the repair gradually.
3. Test the Product
Place a pea-sized amount of compound on a clean microfiber cloth. Test it in a hidden corner or near the bottom of the appliance.
Rub gently with the grain for several strokes. Wipe the residue away and inspect the area from different angles. Do not continue if the test spot changes color or develops a brighter, flatter, or cloudier appearance.
4. Polish With the Grain
Apply a small amount of product to the cloth rather than directly to the appliance. Use light, even strokes that follow the grain. Treat a slightly wider area than the scratch. Focusing on one narrow line can create a visible polished stripe.
5. Check Your Progress Often
Wipe the area clean after several passes. Inspect it under both direct and angled light. Repeat only when the finish remains even. More pressure does not guarantee a better result.
6. Clean and Buff the Surface
Remove all compound with a damp cloth. Dry the area with a separate microfiber cloth, following the grain. Buff lightly until the repaired section matches the surrounding sheen.
How to Handle Deeper Scratches
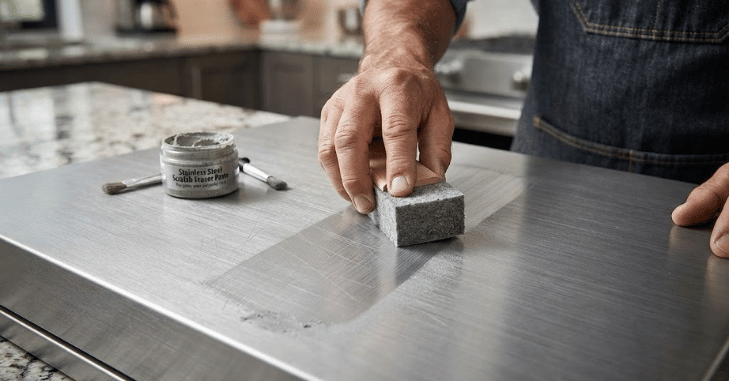
A deeper groove needs a more controlled approach. Choose a kit made for bare, brushed metal and follow its grit sequence exactly.
Repair kits use progressively finer abrasives. The coarser stage reduces the groove, while later stages restore a more uniform brushed appearance. Metal polishing works by removing surface imperfections through increasingly fine abrasive stages.
Follow these rules:
- Test every abrasive pad in a hidden area.
- Begin with the finest grade that may work.
- Move only with the grain.
- Keep your strokes straight and consistent.
- Expand the treated area gradually.
- Clean between each grade.
- Stop before the surface becomes visibly uneven.
A deep scratch may remain faintly visible after treatment. Trying to remove every trace can create a larger mismatched patch.
Household Remedies: Which Ones Are Worth Trying?
Baking soda paste is often suggested for fine marks because it acts as a mild abrasive. Mix it with a little water and apply it gently with a soft cloth. It may reduce a superficial mark, but it should still be tested first.
Non-gel toothpaste is another mild abrasive sometimes used for tiny scuffs. Results vary, and formulas differ between brands. These remedies are not suitable for coated surfaces. They also cannot restore a deep groove or recreate a factory-applied brushed pattern.
Commercial compounds provide clearer instructions and more consistent abrasiveness. For that reason, they are usually easier to control than an improvised mixture.
Common Mistakes That Make the Damage Worse

Rubbing Across the Grain
Cross-grain marks reflect light differently and may become more obvious than the original scratch.
Using the Rough Side of a Sponge
Abrasive kitchen sponges can leave clusters of fine scratches. Use microfiber or a manufacturer-approved non-scratch pad instead.
Starting With Coarse Sandpaper
A coarse abrasive removes material quickly. It can flatten the grain, create deep lines, and enlarge the repair area.
Using the Same Method on Every Item
A sink, refrigerator door, pan, and decorative panel may all have different finishes. Cookware can often tolerate treatments that would ruin an appliance coating.
Applying Too Much Pressure
Heavy pressure can create uneven polishing and heat. Several light passes give you more control than one forceful pass.
When to Call a Professional
Professional help is sensible when:
- The metal has a mirror finish.
- The appliance has a dark or protective coating.
- The groove is deep enough to catch a fingernail firmly.
- Several scratches cross the grain.
- The damaged section is large or highly visible.
- A previous repair created a bright or cloudy patch.
- The appliance is still under warranty.
A refinishing specialist may recreate the brushed pattern across a wider panel. In some cases, replacing a door skin or decorative panel gives a more consistent result.
For more practical maintenance topics, browse Gladnota’s home improvement advice. Larger surface repairs may also fit within a planned home renovation project. For ideas on coordinating appliance finishes with a room, visit the interior design section.
How to Prevent Future Scratches
Use separate microfiber cloths for cleaning and drying. Wipe with the grain, and avoid placing metal tools or abrasive containers against appliance doors—clean spills before they harden. Dried residue often leads people to scrub harder than necessary.
Keep magnets with rough edges away from refrigerator doors. Lift countertop appliances rather than dragging them across a metal worktop. A suitable polish can reduce fingerprints and make routine cleaning easier. It cannot make the surface scratch-proof.
Apart from that, if you want to read an article on the Kwanzan cherry tree, visit our home improvement category.
FAQs
It can reduce the appearance of a deep groove, but complete removal is not guaranteed. Removing the entire line may require taking away enough surrounding metal to change the finish. A professional can assess whether refinishing or panel replacement would look better.
You can test a mild baking soda paste on bare, uncoated metal. Use light pressure and follow the grain. Do not use it on coated, black, or fingerprint-resistant finishes unless the manufacturer approves it.
Non-gel toothpaste may soften the appearance of tiny surface marks. It is still abrasive, so test it in a hidden area first. Stop if the test section becomes cloudy or unusually shiny.
Steel wool is not a safe choice for most finished appliances. It can add deep scratches, disturb the grain, and leave particles that later rust.
The abrasive likely smoothed the original brushed texture. The affected patch now reflects light differently. Stop polishing and consult a refinishing specialist before attempting to recreate the grain.
No. On brushed metal, use straight strokes that follow the visible grain. Circular rubbing can create swirls and an uneven sheen.