


Learning how to texture a ceiling starts with choosing a simple pattern, preparing the surface, and testing your technique before working overhead. For a beginner-friendly finish, apply thinned joint compound with a texture roller or sponge. Work in small sections, maintain consistent pressure, and let the surface dry fully before painting. Also worth reading: Textured Ceiling Choices.
| Project detail | Practical guidance |
| Skill level | Beginner to intermediate |
| Best beginner method | Roller or sponge texture |
| Main material | Premixed joint compound |
| Typical working area | 3-by-3-foot sections |
| Drying time | Follow the product label; thick applications take longer |
| Essential protection | Goggles, dust mask, drop cloths, and stable ladder |
| Best practice | Test the pattern on scrap drywall first |
What You’ll Need?
Gather everything before covering the room. Stopping midway can leave visible edges where one section dries before the next begins.
Tools
- Stable ladder or suitable work platform
- Paint roller with extension pole
- Texture roller, sponge, stipple brush, or drywall knife
- Drill with mixing paddle
- Five-gallon bucket
- Paint tray
- Putty knife
- Sanding block
- Soft brush or vacuum attachment
- Work light
Materials
- Premixed all-purpose or lightweight joint compound
- Water
- Drywall primer
- Ceiling paint
- Painter’s tape
- Plastic sheeting
- Canvas or disposable drop cloths
- Patch material for cracks and holes
Wear eye protection because wet compound can fall while you work. Use a dust mask during sanding and mixing. Lowe’s also advises turning off power when working near exposed electrical fixtures.
Before beginning a larger decorating project, review Gladnota’s home remodeling planning guide. It can help you coordinate surface work, lighting, painting, and room access.
Choose a Ceiling Texture That Fits the Room
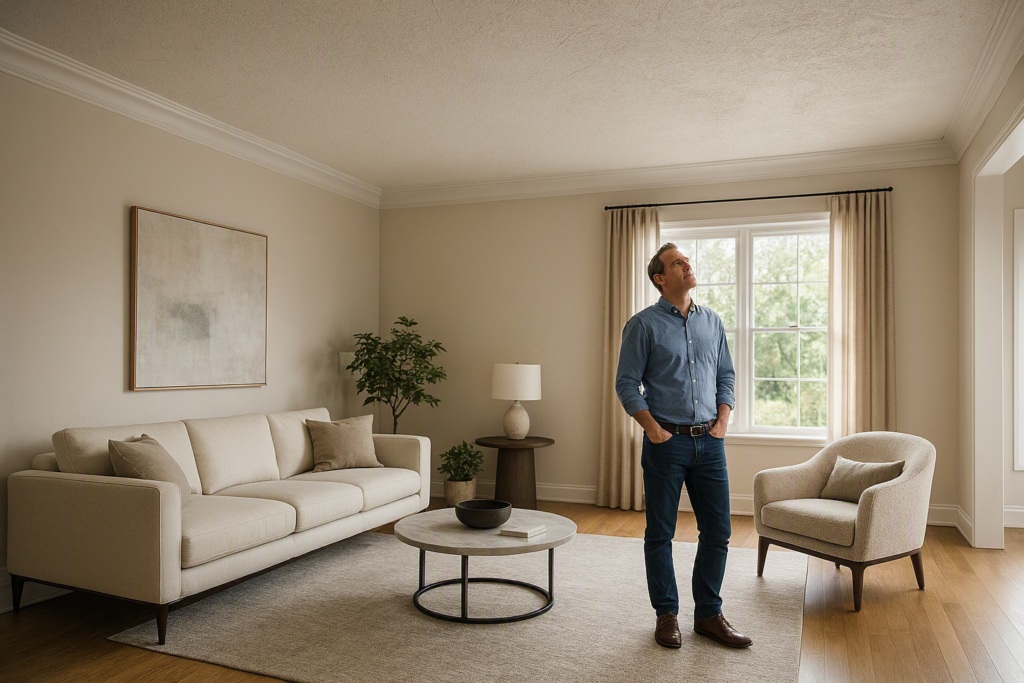
The easiest technique isn’t always the right one. Consider the room’s size, lighting, style, and existing ceiling condition.
| Texture style | Application method | Appearance | Beginner difficulty |
| Roller | Thick-nap or patterned roller | Soft, even stipple | Easy |
| Sponge | Damp natural sponge | Irregular, handcrafted pattern | Easy |
| Swirl | Brush or sponge moved in arcs | Decorative circular pattern | Moderate |
| Skip trowel | Drywall knife or trowel | Layered, plaster-like finish | Moderate |
| Knockdown | Sprayed or rolled compound, then flattened | Mottled finish with low ridges | Moderate |
| Orange peel | Texture sprayer | Fine, rounded bumps | Moderate |
| Popcorn | Hopper gun and specialty mix | Heavy acoustic texture | Difficult and messy |
A roller finish gives beginners the most control. Sponge texture is also forgiving because slight variations look intentional. Knockdown and orange-peel finishes suit larger areas, but they usually require more equipment and practice.
Existing popcorn material deserves extra caution. Older ceiling coatings may contain hazardous materials. Don’t sand, scrape, drill, or disturb an unknown coating until you’ve determined whether professional testing is appropriate.
How to Texture a Ceiling Step by Step?
1. Protect the Room
Remove as much furniture as possible. Cover remaining items completely with plastic. Spread drop cloths across the entire floor rather than only beneath your current work area. Tape plastic over walls, windows, doors, cabinets, and vents. Joint compound can travel farther than expected when rolled or sprayed.
Remove ceiling light covers where practical. Shut off the electrical circuit before handling fixtures or exposed wiring. Tape and bag any fixture that must remain in place.
2. Inspect and Clean the Surface

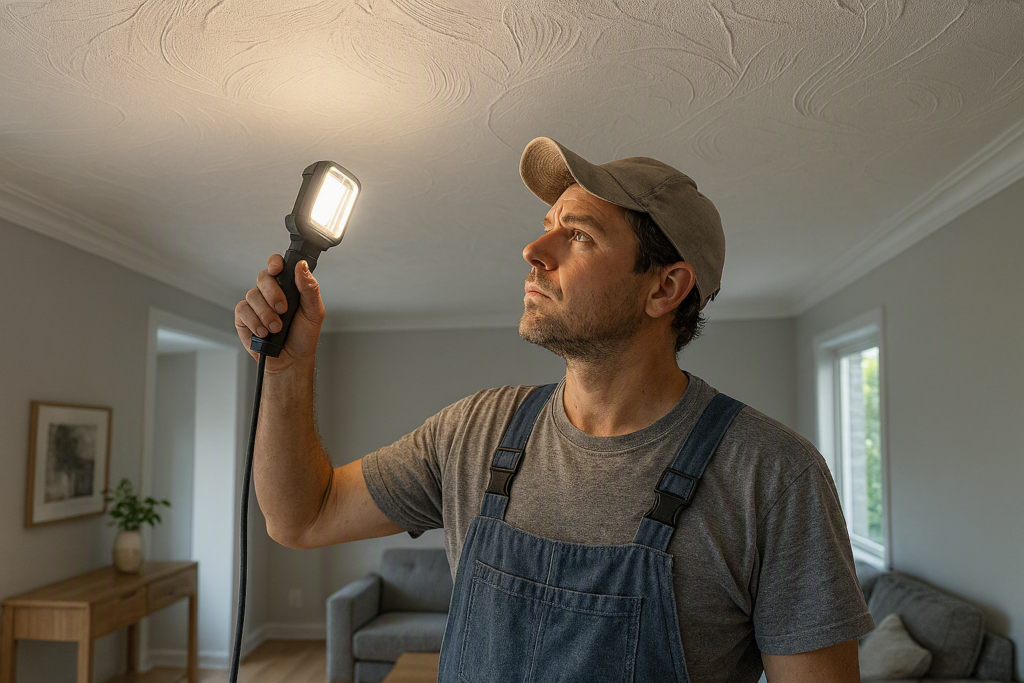
Use a bright work light held at an angle to reveal cracks, loose paint, dents, stains, and raised patches. This simple inspection makes defects easier to see before they affect the finished pattern. Taking time to prepare the surface properly is an essential step in how to texture a ceiling for professional-looking results. Remove dust and cobwebs with a soft brush or vacuum attachment.
Wash greasy areas with a mild cleaning solution, then wipe away residue. Let the surface dry completely. Don’t cover active water stains without finding the cause. Repair the leak and allow the area to dry before continuing. Texture can hide small cosmetic flaws, but it won’t solve moisture damage or loose material.
3. Repair Holes and Unstable Areas
Scrape away flaking paint and loose compound. Fill small holes and cracks with patching compound. Let repairs dry, then sand raised edges until they blend with the surrounding surface. Large cracks, sagging drywall, soft areas, or recurring stains may indicate a deeper problem. Pause the project and have the ceiling assessed before adding more weight or moisture. Wipe away all sanding dust. Texture adheres poorly to a chalky or dusty surface.
4. Apply the Correct Primer
Prime repaired areas and bare drywall. A suitable drywall primer seals porous material and helps prevent uneven absorption. This creates a more consistent working surface. Cut in around the perimeter with a brush. Roll the remaining area with an extension pole. Wait for the primer to dry according to its label.
This Old House recommends PVA primer for new drywall or plaster because those surfaces absorb moisture quickly. It also stresses the need to clean and repair the surface before application.
Browse Gladnota’s broader home improvement guides when planning related repairs, cleaning work, or surface preparation.
5. Mix a Small Test Batch
Place some premixed joint compound in a clean bucket. Add water gradually while mixing with a paddle. Stop when the mixture spreads without running or forming dry lumps. There isn’t one universal water ratio for every product or technique. Compound formulas differ, and a roller may need a different consistency from a hopper gun. Follow the manufacturer’s directions, then adjust only in small amounts.
Test the mixture on scrap drywall or sturdy cardboard. Hold the test piece overhead or vertically so that gravity acts on the material. A flat sample on the floor won’t show how the mixture behaves on a ceiling.
Use this test to set three controls:
- Compound thickness
- Tool pressure
- Number of passes
Write down the mixture or measure the water added. That makes the next batch easier to reproduce.
6. Apply the Pattern in Small Sections
Begin in a corner away from the main doorway. Work across the room in sections measuring about 3 feet by 3 feet. Keep a wet edge so adjoining areas blend. These techniques are fundamental to how to texture a ceiling with a consistent, professional-looking finish. For a roller pattern, load the cover evenly and remove excess material. Roll in one direction with steady pressure. Make a light final pass without adding more compound.
For sponge texture, spread a thin base layer first. Press a damp sponge into the material and lift it straight away. Rotate the sponge between impressions to prevent obvious repetition. For swirls, coat a small section and move a stiff brush through the wet material in overlapping arcs. Use a guide mark when you want evenly sized circles.
For knockdown texture, apply the droplets first. Wait until their glossy wet appearance begins to dull. Drag a clean drywall knife lightly across the peaks. Don’t press hard enough to flatten the whole pattern. Texture and lighting affect one another. Strong light from one direction can emphasize every ridge. Gladnota’s guide to planning ceiling and task lighting explains how fixture position changes shadows and visibility.
7. Let the Surface Dry and Paint It

Leave the ceiling undisturbed until the compound has dried through, not only on the surface. Product type, application thickness, humidity, temperature, and airflow all affect drying. Avoid pointing a powerful fan directly at wet compound. Rapid surface drying can leave softer material beneath the surface and may contribute to cracking.
Inspect the dry finish with light coming from several directions. Sand isolated high spots gently. Fill thin areas with the same mixture and application tool. Prime the dried texture when required by the compound or paint manufacturer. Finish with flat ceiling paint and a roller nap long enough to reach the pattern’s low areas. Apply light pressure to avoid damaging sharp details.
Common Mistakes to Avoid
Applying Too Much Compound
A thick layer is harder to control and takes longer to dry. It can sag, crack, or form heavy ridges. Start thinner than you think you need because you can add material to weak areas.
Skipping the Practice Board
A practice board reveals whether the mixture is too wet, too stiff, or difficult to repeat. It also helps you choose a pattern before working above finished floors and walls.
Letting Sections Dry Separately
Hard lines appear when one area sets before the next section reaches it. Prepare enough material and keep the working areas small.
Changing Pressure Midway
A texture roller creates deeper peaks when pushed firmly. Lighter pressure creates a softer finish. Use the same grip, direction, and pressure across the room.
Trying to Hide Structural Damage
Decorative compound can soften the appearance of shallow dents or repaired seams. It shouldn’t cover movement cracks, damp drywall, loose plaster, or sagging panels.
How to Fix Uneven Ceiling Texture?
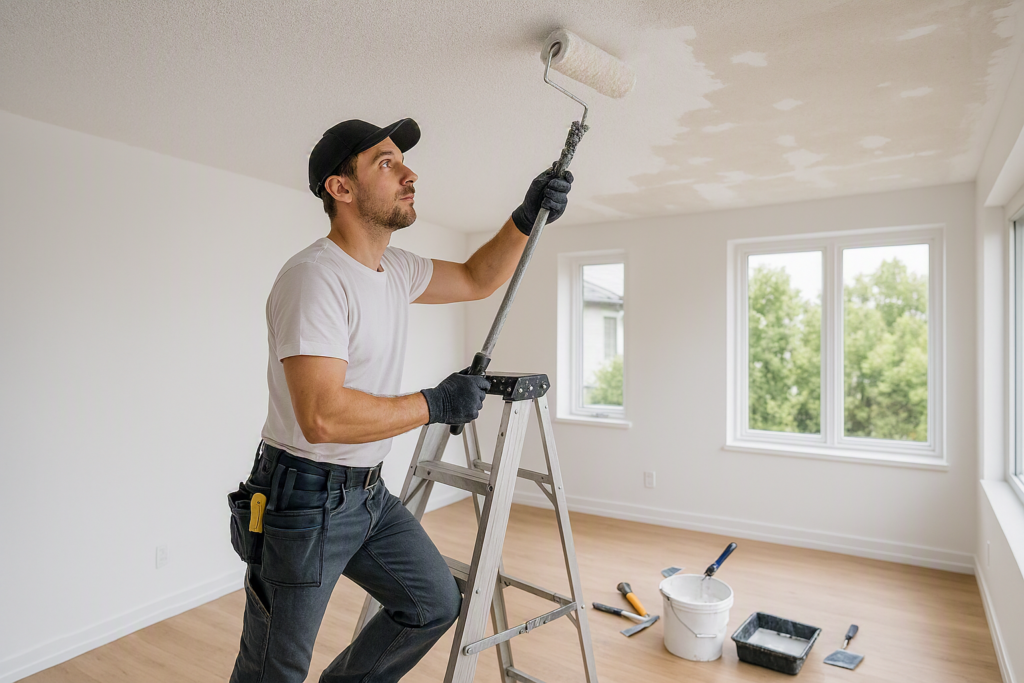
Leave the area alone until it is fully dry. Trying to repair wet material often enlarges the defect. Knowing how to texture a ceiling also means allowing enough drying time before making any touch-ups—sand high ridges carefully with a fine sanding block. Remove the dust, then apply a small amount of matching compound to thin or bare areas. Feather the repair into the surrounding pattern.
Use the same tool that created the original finish. A sponge patch rarely blends into a roller pattern, even when the mixture matches. For dried drips, shave the largest part with a putty knife before sanding. This reduces dust and prevents aggressive sanding around the defect. This Old House similarly recommends removing wet globs with a blade and sanding dried ones before touching up the pattern.
FAQs
Yes. A roller or sponge pattern is manageable for a careful beginner. Preparation matters more than speed. Practice first, mix small batches, and work in sections you can finish before their edges begin to dry.
Prime bare drywall, porous repairs, stains, and uneven surfaces. Primer helps control absorption and provides a more consistent base. Existing painted surfaces may still need primer when they are glossy, stained, patched, or difficult to clean.
You can apply it over sound paint after cleaning the surface and removing loose material. Glossy finishes may need light sanding or a bonding primer. Follow the texture product’s surface-preparation instructions.
It can disguise shallow repaired seams and minor surface variation. It won’t correct active cracks or structural movement. Repair the cause first, then patch and finish the surface.
Rolling is cleaner, cheaper, and easier to control in a small room. Spraying is faster across a large area and creates patterns such as orange peel. It needs specialized equipment and extensive masking.
Start With a Test Section
Choose your pattern, prepare the ceiling, and create a sample before mixing a full bucket. A measured test records the right consistency, pressure, and timing for the room. Once the sample dries as expected, protect the space thoroughly and complete the ceiling one small section at a time.