


Learning how to clean a kitchen surfaces in the right order saves time and prevents you from spreading crumbs, grease, and dirty water over areas you already finished. Start by clearing clutter and washing dishes. Then work from high surfaces to low ones before sweeping and mopping the floor.
Cleaning a cooking space doesn’t require a cabinet full of harsh chemicals. Warm water, dish soap, clean cloths, and a surface-safe cleaner can handle most everyday messes. You’ll need a stronger or specialized product only for certain stains, finishes, or appliances.
| Cleaning detail | Practical guidance |
| Best order | Declutter, wash dishes, clean high areas, wipe surfaces, clean appliances, finish with the floor |
| Basic time needed | About 30–60 minutes for a routine clean |
| Deep-clean time | One to three hours, depending on size and buildup |
| Main supplies | Dish soap, microfiber cloths, sponge, scrub brush, bucket, broom or vacuum, and mop |
| Key safety rule | Never mix bleach or disinfectants with other cleaners |
| Best working method | Move clockwise and clean from top to bottom |
Direct answer: Clear counters and deal with dishes first. Dust high surfaces before wiping cabinets, appliances, counters, and the sink. Remove loose crumbs before applying wet cleaner. Finish by emptying the bin, sweeping, and mopping. Use products made for each surface, and follow every label’s safety and contact-time directions.
What You’ll Need?
Gathering your supplies before you begin prevents repeated trips between rooms. You don’t need every item for each session, but the following kit covers most jobs:
- Microfiber cloths
- Non-scratch sponge
- Small detail brush or old toothbrush
- Dish soap
- Surface-safe multipurpose cleaner
- Degreaser, when needed
- Bucket or bowl of warm water
- Broom, vacuum, and dustpan
- Floor cleaner suited to your flooring
- Mop
- Rubber gloves
- Rubbish bags
Use separate cloths for food-preparation areas, floors, and the rubbish bin. This reduces the chance of transferring residue from one area to another. Check product labels before cleaning natural stone, painted cabinets, stainless steel, wood, or specialty flooring. A cleaner that works on ceramic tile may damage another finish.
How To Clean A Kitchen Area Step By Step?
Follow this order to avoid repeating work. The method moves from dry tasks to wet tasks and from higher areas to the floor.
1. Remove Clutter

When learning how to clean a kitchen, put away food, mail, small appliances, and items that don’t belong on the counters; return ingredients to the pantry or refrigerator. Throw away empty packaging and check for expired food as you work.
Don’t empty every cabinet during a routine cleaning session, as that can turn a manageable job into a larger project. Keep a small basket nearby for objects that belong in other rooms, and carry the basket away after you finish instead of leaving the room for each item.
2. Wash The Dishes
Load the dishwasher or wash dirty dishes by hand. Empty the drying rack if clean plates are already waiting there. Starting with the dishes frees the sink and gives you space for rinsing cloths. It also clears the main visual source of mess. Soak pans with stuck food in warm, soapy water while you handle other tasks. This gives the residue time to soften without aggressive scrubbing.
3. Dust High Surfaces
Dust light fixtures, the top of the refrigerator, open shelves, and cabinet tops. Cleaning from top to bottom prevents falling debris from landing on completed surfaces. This sequence also appears across leading step-by-step cleaning checklists.
Use a cloth or vacuum attachment first. Applying wet cleaner directly to dusty grease can create a sticky paste that takes longer to remove. Work carefully around bulbs and electrical fittings. Switch lights off and let hot bulbs cool before touching nearby surfaces.
4. Wipe Cabinet Doors And Handles
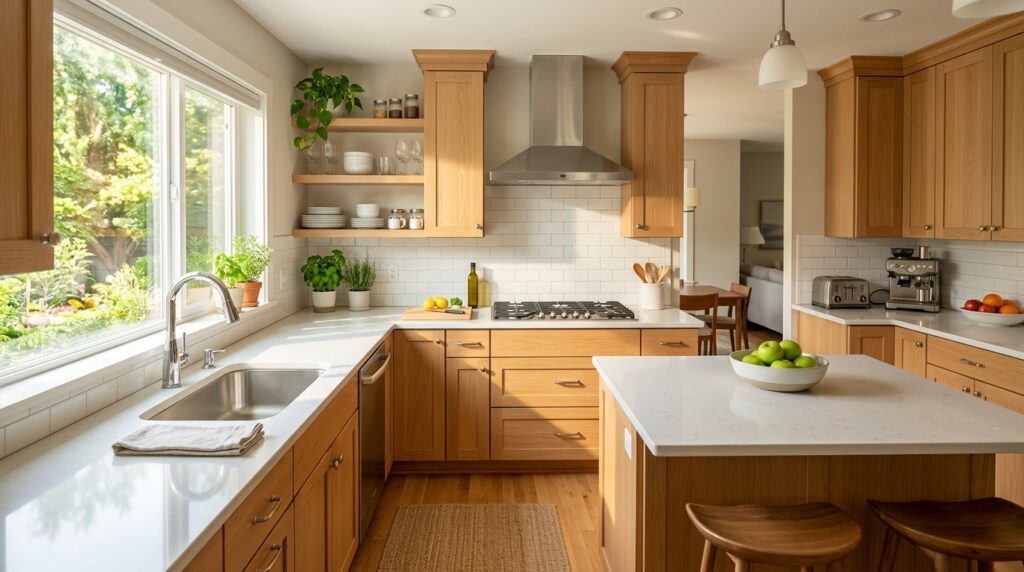
Cabinet doors near the stove often collect airborne grease. Handles also gather fingerprints and food residue from frequent contact. Test your cleaner on a hidden spot first. Painted wood, laminate, gloss finishes, and unfinished timber may need different products. Wipe doors with a damp cloth, then dry them promptly. Use a small brush around handle edges, moulding, and corners.
5. Clean Small Appliances
As part of learning how to clean a kitchen, unplug countertop appliances before wiping them. Remove crumbs from the toaster, clean the coffee maker’s removable parts, and wipe the outside of mixers, kettles, and air fryers. Don’t spray liquid directly into controls, vents, or electrical openings. Instead, apply the cleaner to a cloth before wiping the surfaces.
Don’t spray liquid directly into controls, vents, or electrical openings. Apply cleaner to a cloth instead. Follow the manufacturer’s instructions for removable parts. A component that looks washable may contain seals, coatings, or electrical contacts that shouldn’t be soaked.
6. Clean The Stovetop And Microwave
Remove loose crumbs and detachable burner parts before applying cleaner. Let greasy areas sit under a product for the label’s stated time rather than scrubbing at once. Use non-scratch tools on glass and coated stovetops. Sharp blades, abrasive powders, and rough pads may damage the finish unless the manufacturer permits them.
Knowing how to clean a kitchen includes cleaning the microwave properly. Wipe away loose debris and soften dried splashes by heating a microwave-safe bowl of water to create steam. Let the appliance cool, unplug it when practical, and wipe the interior with a damp cloth.
7. Wipe Counters And The Backsplash
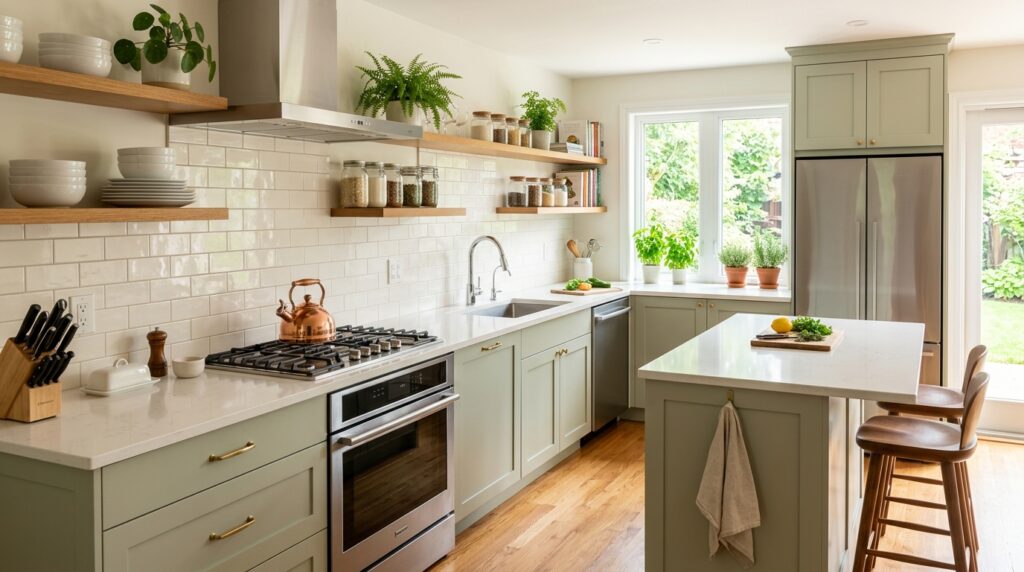
Move remaining items away rather than wiping around them. Brush crumbs into your hand or a dustpan before using a wet cloth. Choose a cleaner that matches the counter material. Acidic products may harm some natural-stone surfaces. Sealed stone also requires suitable care to protect its finish. Gladnota’s granite sealer guide explains how sealing affects stain and moisture protection.
Cleaning and disinfecting are different tasks. Cleaning uses soap, water, and physical action to remove dirt. Disinfecting uses a suitable chemical product to kill remaining germs. A visibly dirty surface normally needs cleaning before disinfection. When using a sanitizer or disinfectant. Pay attention to dilution, ventilation, surface compatibility, and the required wet contact time.
8. Scrub The Sink And Faucet
Remove food scraps from the drain and wash the basin with dish soap or a sink-safe cleaner. Scrub around the drain, faucet base, handles, and overflow opening. Rinse the basin well and dry the faucet with a clean cloth. Drying helps reduce water spots and leaves the fixture looking polished. Clean reusable brushes and drain strainers too. Replace a sponge when it smells, breaks apart, or stays dirty after washing.
9. Empty And Wipe The Rubbish Bin
Tie the bag and remove it from the room. Check the bottom of the bin for leaks, crumbs, or sticky residue.
Wash the interior with soap and water when needed. Apply a disinfectant only if it’s suitable for the material, and follow the product directions.
Knowing how to clean a kitchen safely is just as important as keeping it tidy. Never mix bleach with ammonia, vinegar, disinfectants, or other cleaners, as doing so can release dangerous vapours. Ventilate the room and wear protective gloves whenever the product label recommends them. Before fitting a new trash bag, allow the bin to dry completely, as trapped moisture can contribute to unwanted odours.
10. Sweep And Mop The Floor
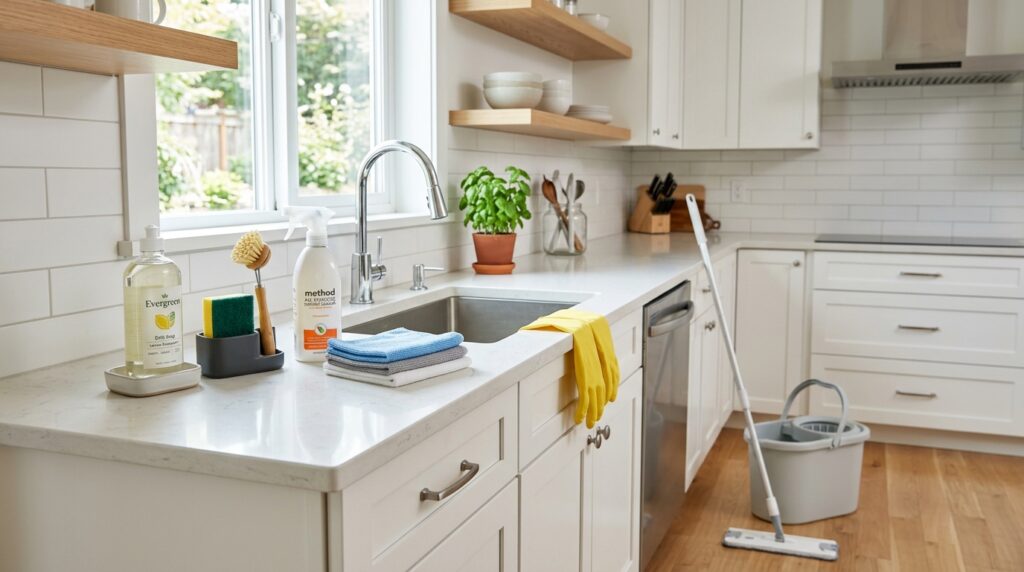
Sweep or vacuum around cabinet edges, under movable stools, and beneath the table. A crevice tool can collect crumbs beside appliances without moving them—spot-treat sticky marks before mopping the full floor. Use a cleaner intended for your flooring, since excess water can damage some wood and laminate products.
Begin at the corner farthest from the exit.
Mop toward the doorway so you don’t walk over the wet surface. For unfinished utility areas or adjoining concrete floors, use Gladnota’s safe concrete-cleaning instructions rather than applying an indoor floor product without checking compatibility.
A Faster 20-Minute Cleaning Routine
A full session isn’t always necessary. Use this focused reset when the room needs attention but time is limited:
- Spend three minutes clearing clutter.
- Load or wash dishes for five minutes.
- Wipe the stovetop and counters for four minutes.
- Clean the sink for three minutes.
- Empty the bin and sweep for five minutes.
Set a timer and stop when each block ends. The goal is to restore the working areas, not clean every hidden corner. A “clean as you go” habit also limits grease, crumbs, and dried spills between larger sessions. Cleaning small spills before they harden usually requires less effort later. Splitting chores by frequency keeps deep-clean days manageable.
| Frequency | Suggested tasks |
| After cooking | Wash dishes, wipe preparation areas, clean spills, and rinse the sink |
| Daily | Clear clutter, wipe counters, sweep visible crumbs, and check the bin |
| Weekly | Mop, clean appliance exteriors, wash the bin, and wipe cabinet handles |
| Monthly | Clean cabinet fronts, refrigerator shelves, extractor filters, and hidden edges |
| Seasonally | Move safe-to-shift appliances, clear pantry shelves, and inspect seals and grout |
A consistent schedule is an important part of how to clean a kitchen effectively. Your routine should reflect how often you cook, your household size, whether you have pets or children, and the type of food you prepare. A lightly used kitchen may need fewer full cleaning sessions, while a busy family space may benefit from a quick reset after each meal.
Common Mistakes to Avoid
Mixing Cleaning Chemicals
More products don’t create a better result. Combining chemicals can damage surfaces or produce unsafe fumes. Use one product at a time and rinse when the label directs you to do so.
Starting With the Floor
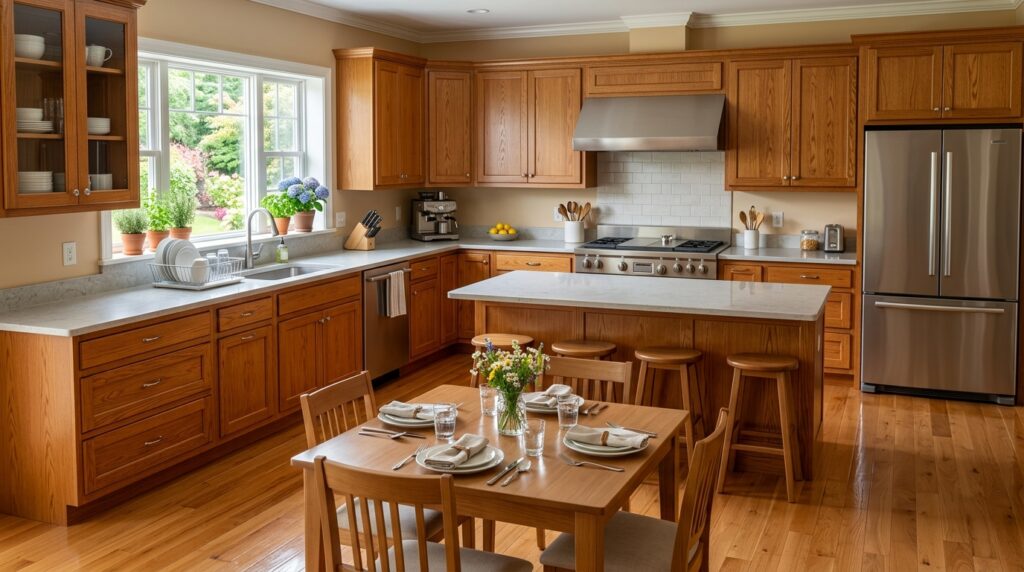
Dust, crumbs, and drips fall while you clean upper areas. Save sweeping and mopping for the final steps.
Using One Cloth Everywhere
A cloth used on the bin shouldn’t return to a food-preparation surface. Assign cloths by area or change them during the session.
Ignoring Product Contact Time
A disinfectant may need to keep the surface visibly wet for a stated period. Wiping it away at once may prevent it from working as directed.
Applying One Cleaner to Every Finish
Natural stone, stainless steel, painted wood, glass, and laminate have different care needs. Read the surface manufacturer’s instructions and test unfamiliar products discreetly.
Your Next Step
Begin with a 20-minute reset today. Clear the counters, wash the dishes, wipe the main work areas, and sweep the floor. Once those areas are under control, choose one deeper task, such as the refrigerator, cabinet fronts, or stovetop, for your next session.
Conclusion
Keeping your cooking space clean doesn’t have to be difficult when you follow a consistent routine and tackle one task at a time. By using the right supplies, cleaning in the proper order, and maintaining a regular schedule, how to clean a kitchen becomes faster, safer, and more effective. Small daily habits also help prevent heavy buildup and reduce future cleaning time.
Frequently Asked Questions
Clear clutter, handle dishes, and work from the highest surfaces downward. Use dry methods for dust and crumbs before applying wet products. Clean appliances and counters next, scrub the sink, empty the bin, then sweep and mop.
Routine cleaning with soap or a suitable surface cleaner is often the first step. Disinfect when the situation calls for it, such as after contact with raw food or illness. Use a product approved for the surface and follow its label.
Wipe food-preparation surfaces and deal with spills after use. Complete lighter tasks daily and larger jobs weekly or monthly. Adjust the schedule for cooking frequency and household needs.
No. Acidic vinegar may harm natural stone and certain finishes. Check the manufacturer’s care instructions before using it on counters, appliances, grout, or flooring.
Apply a compatible degreaser or warm, soapy water and allow it time to loosen the residue. Wipe with a non-scratch cloth. Repeat rather than starting with an abrasive tool.